How Are Commercial Signs Mounted to the Wall?
Commercial signs are mounted four ways: stud mount, flush mount, standoff mount and Z-clip. Stud mount uses threaded rods through the wall. In practice, how commercial signs are mounted depends on the sign's weight and the wall material. A halo-lit sign also needs a gap behind it.
Commercial sign mounting methods at a glance
| Method | Best for | Load and gap | Installation note |
|---|---|---|---|
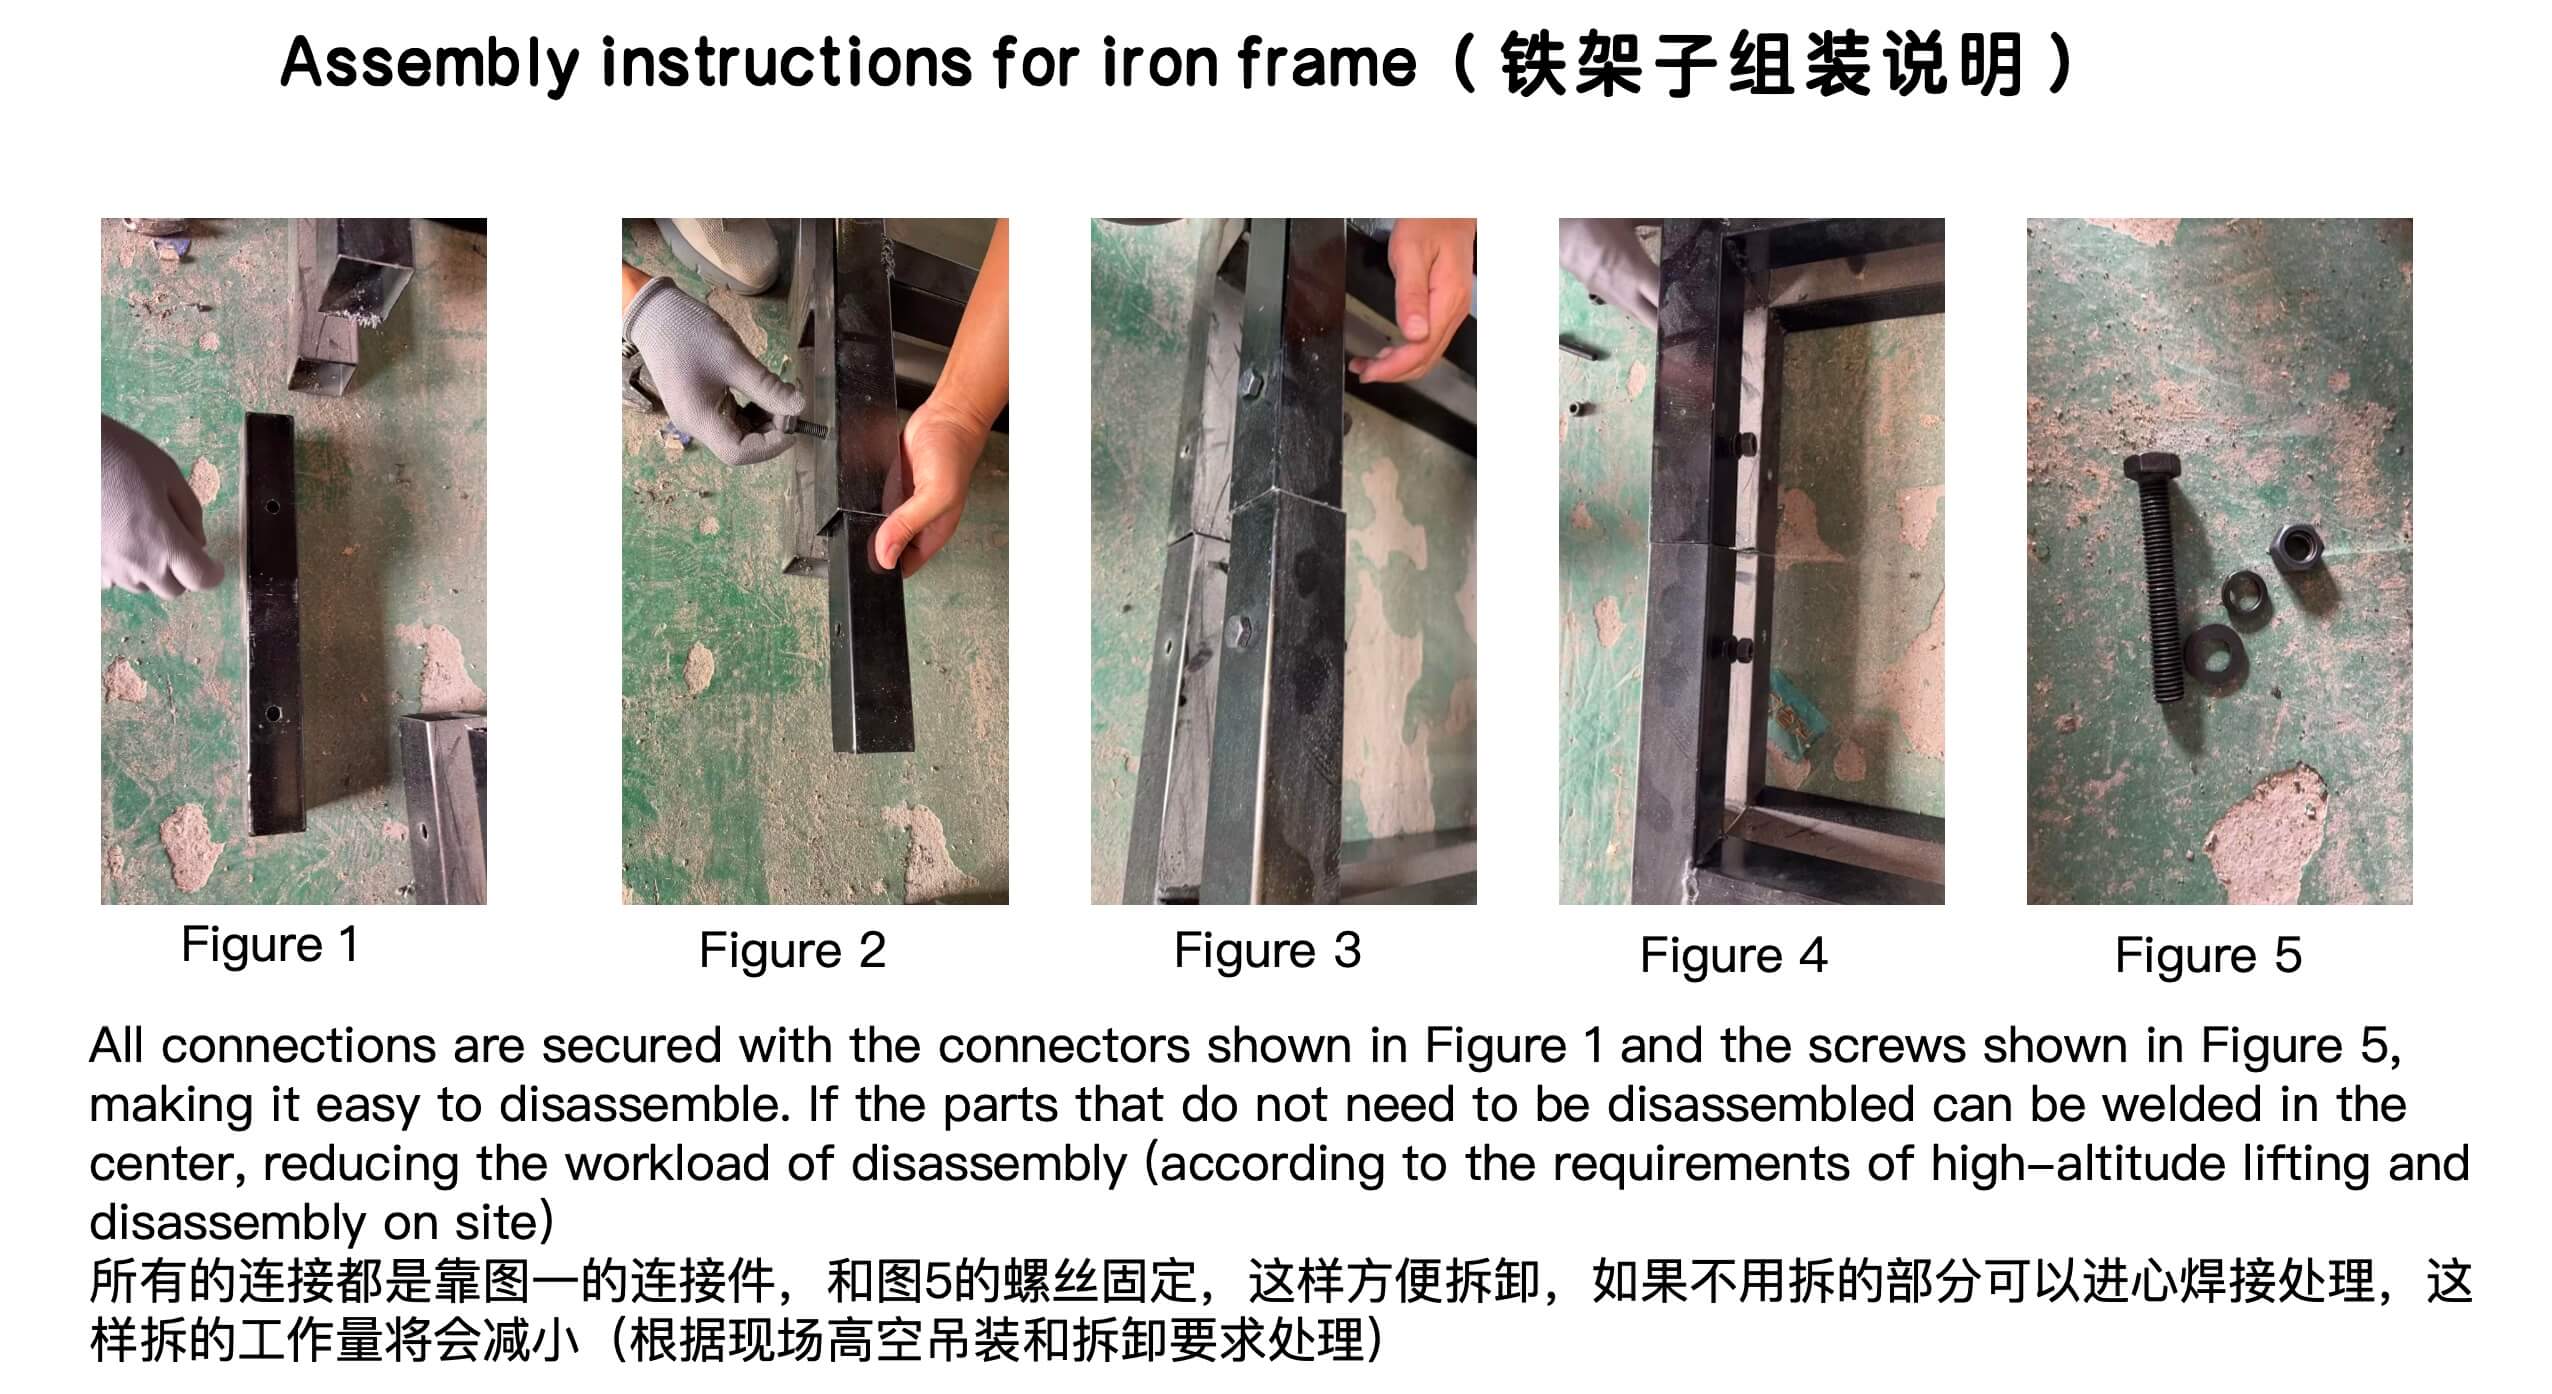
| Stud | Channel letters and heavier light boxes | Threaded studs carry the load; use structural backing and keep the designed wall gap | Follow the 1:1 template and anchor into the structural layer. |
| Flush | Flat panels and signs that sit tight to the wall | No lighting gap; the mounting surface must be flat and sealed | Plan the wire exit before drilling and keep fasteners away from panel edges. |
| Standoff | Acrylic, metal and logo panels that need a shadow gap | Spacers set the reveal; select anchors for the panel weight and wall material | Keep all spacers at equal torque so the panel does not warp. |
| Z-clip | Lighter removable panels and maintenance access | Interlocking clips carry the panel; use stops and the correct wall anchors | Level both clip rows before hanging and retain a secondary fixing where required. |
Why the mounting method matters
A sign is only as good as the point where it meets the wall. Get the mounting wrong and the sign sags. Water gets behind it, the letters crack, or the anchors pull out in the first strong wind. Get it right and the sign looks like part of the building. Wind load and anchor pull-out are the two things installers get wrong most. That is why how commercial signs are mounted should be decided during design, not on install day. Industry bodies such as the International Sign Association publish guidance on wind load and mounting safety.
Three things decide the method: the sign's weight, the wall material, and whether it needs a gap. A 6-inch halo-lit letter weighs a fraction of a 20-foot light box. A stud that holds in brick will not hold on glass or EIFS.
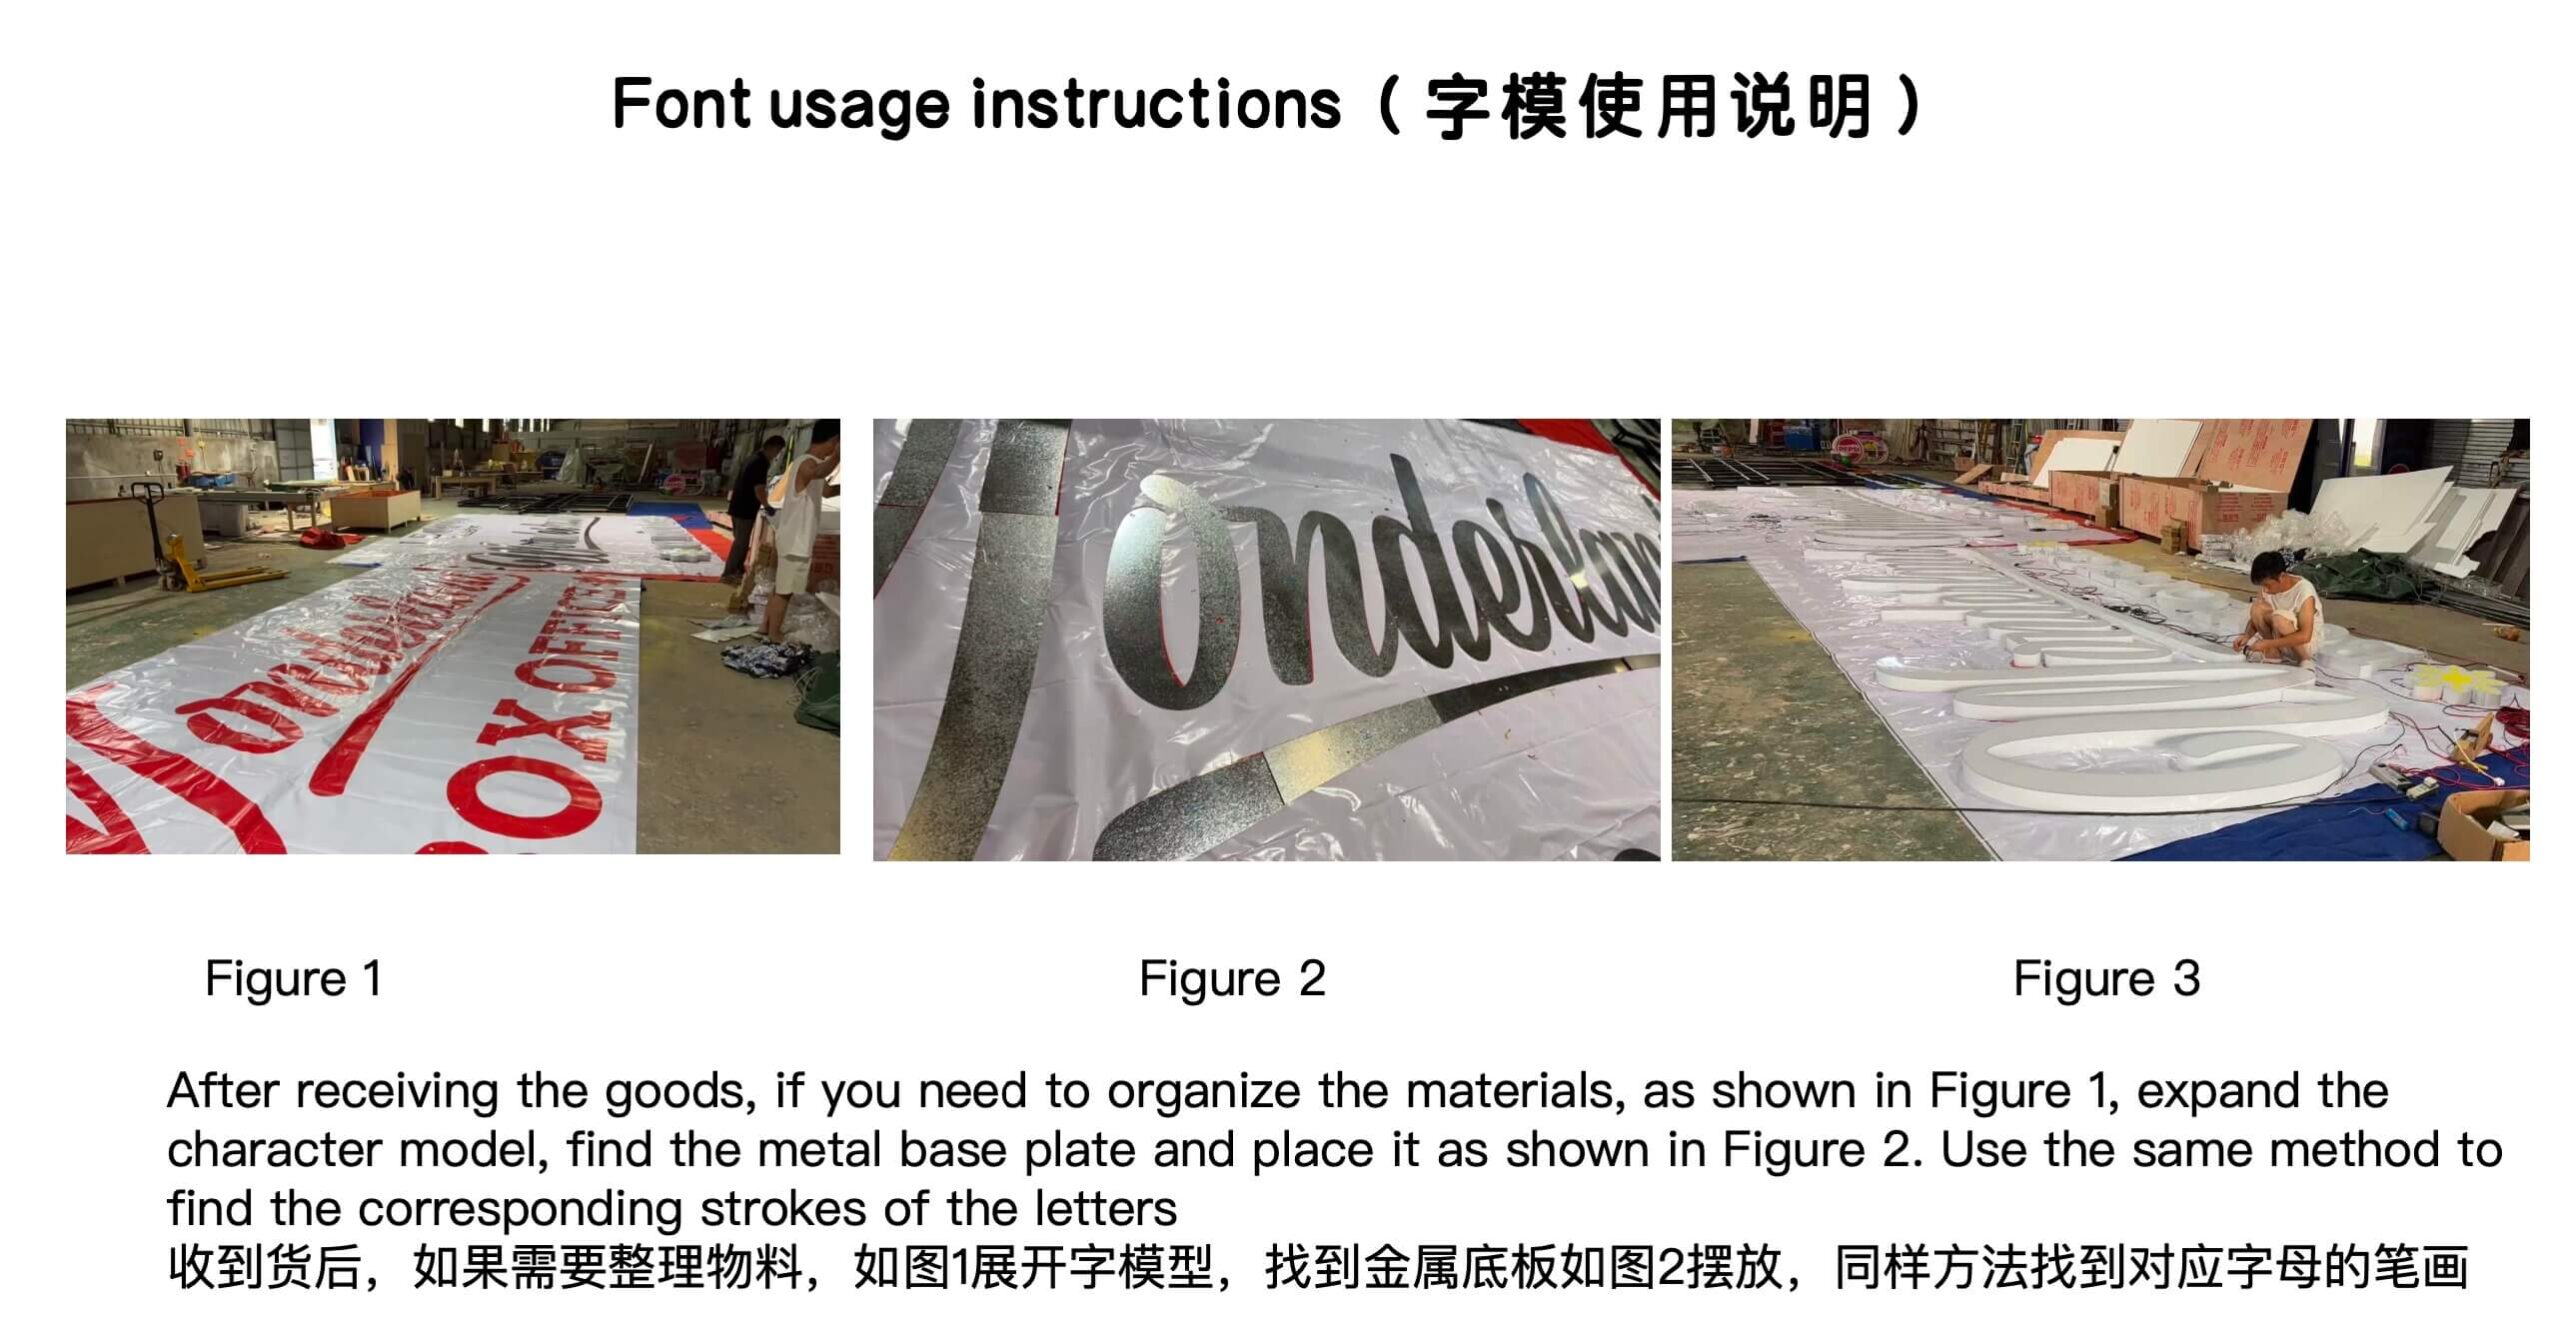
How are commercial signs mounted? The four main methods
1. Stud mount (the default for channel letters)
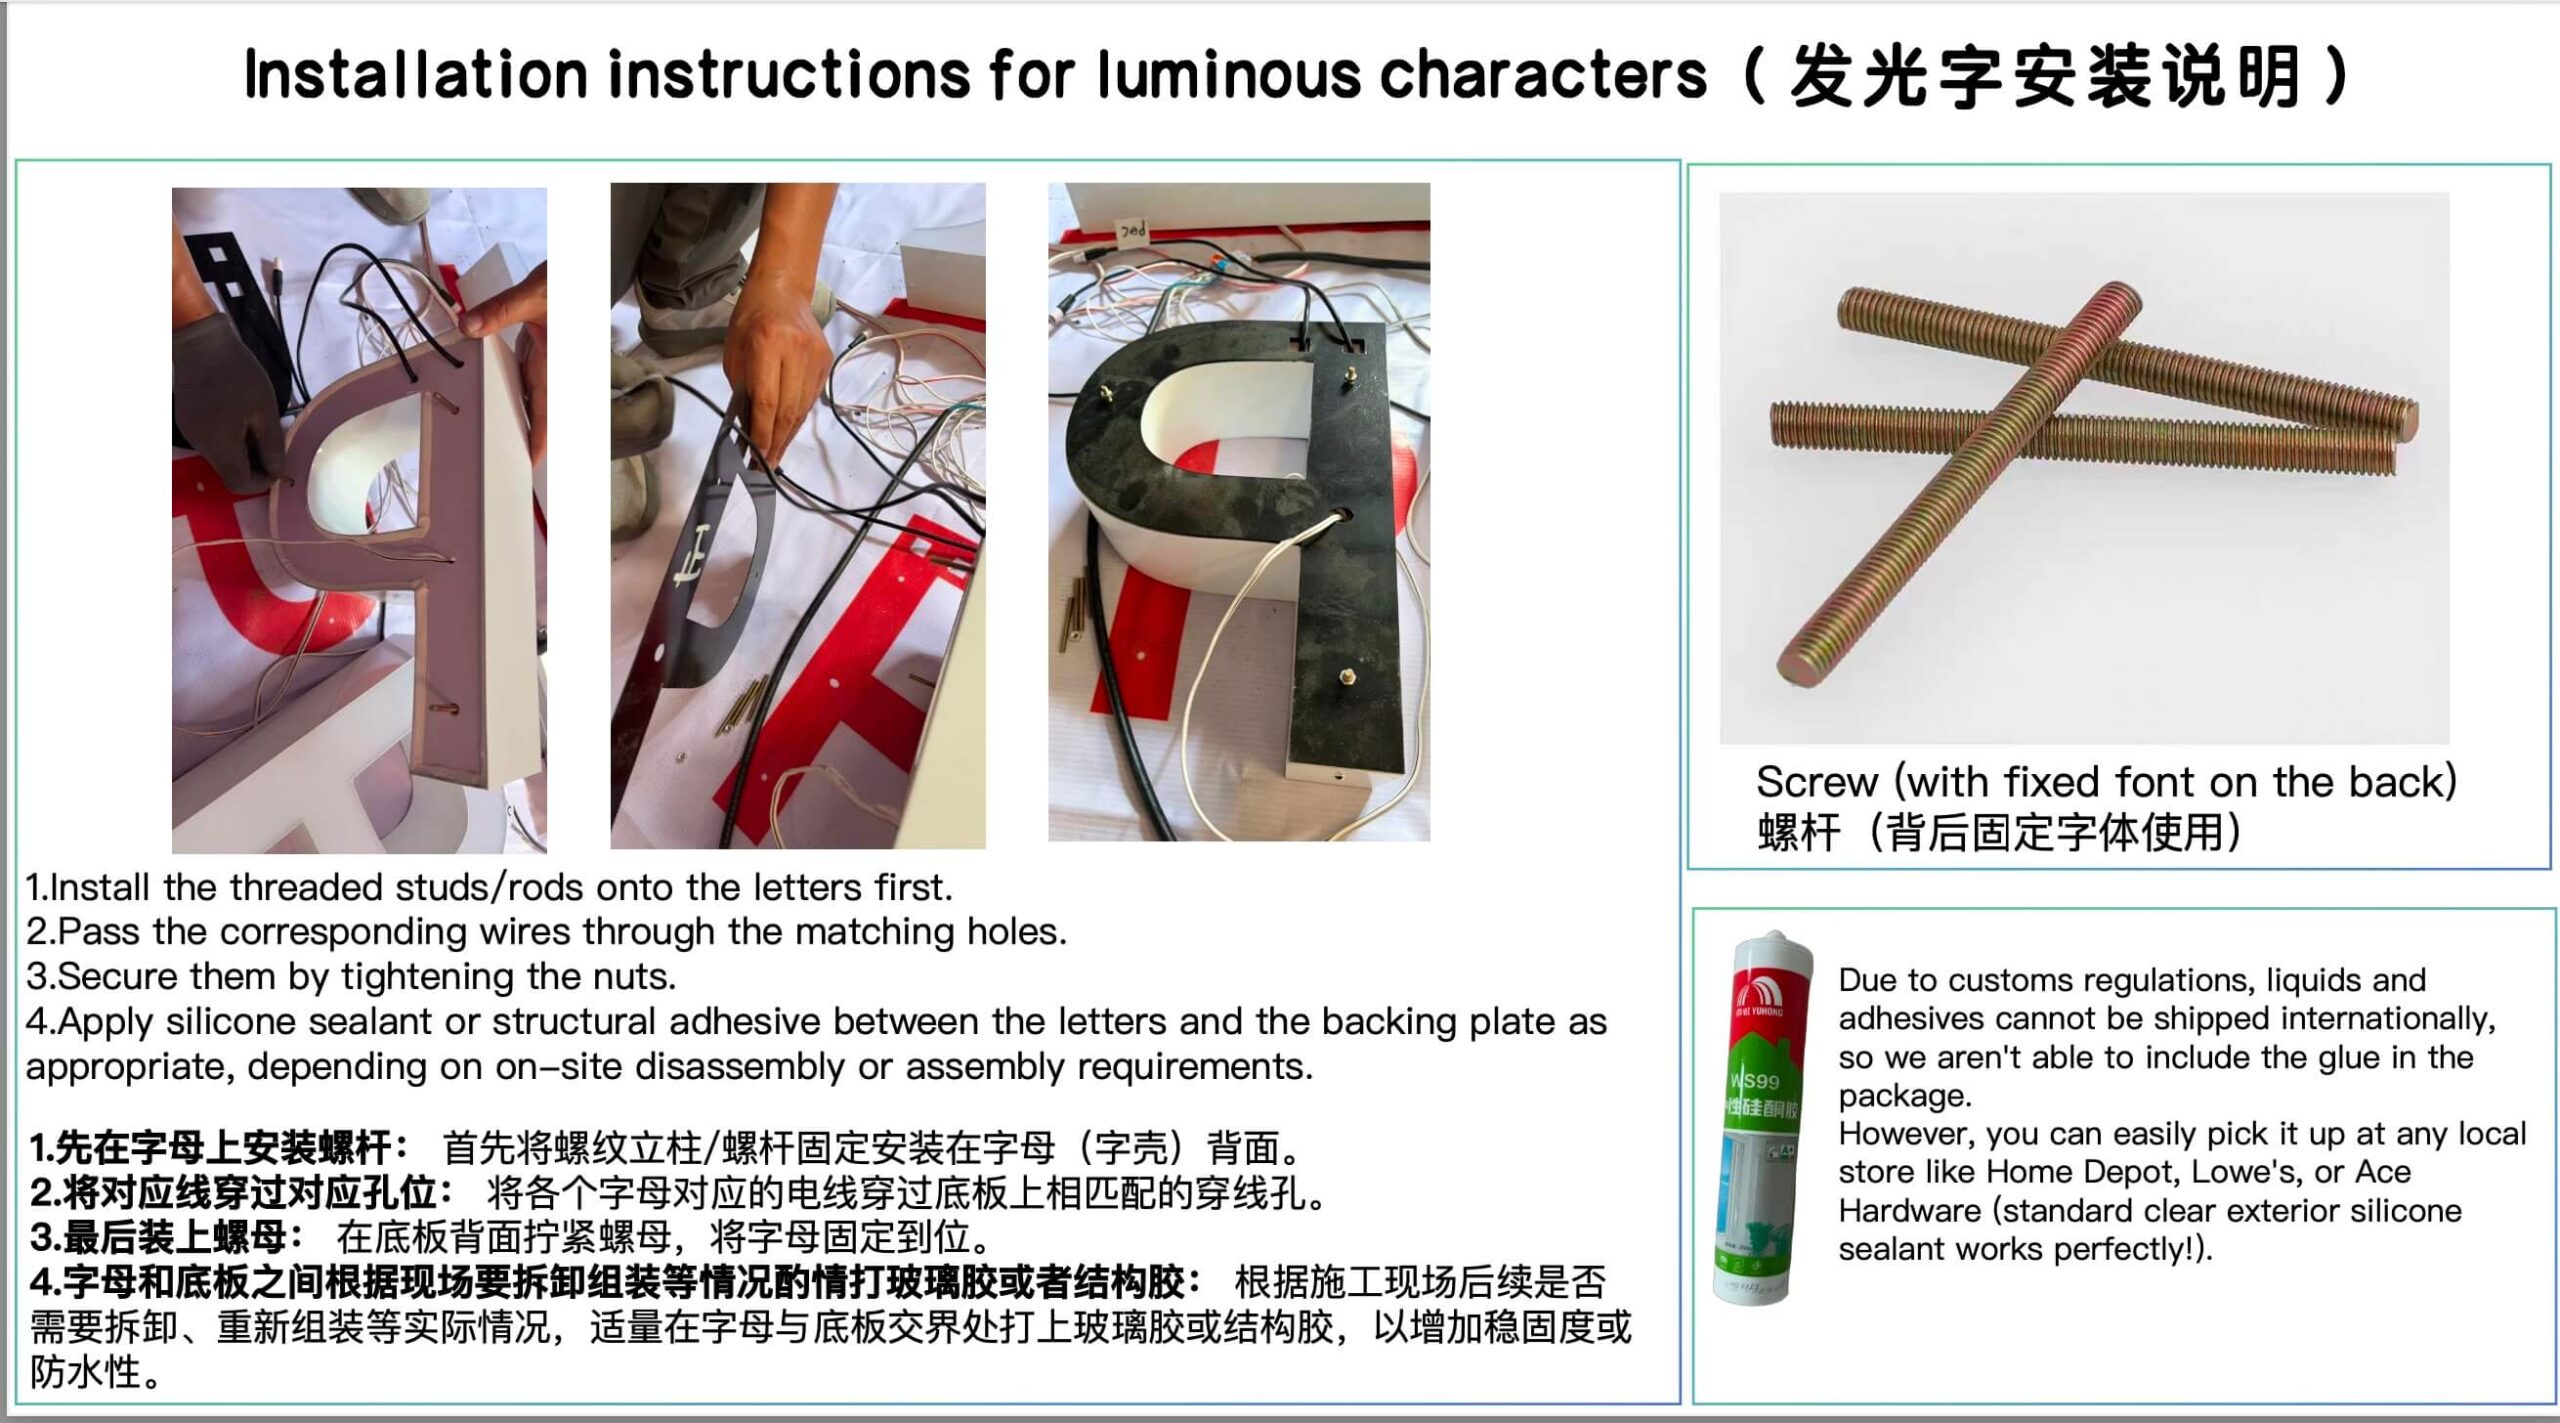
Threaded metal rods (studs) are welded or bolted to the back of each letter. They pass through holes drilled in the wall. Inside the wall, the studs are fixed to a backing plate, a wood batten, or the structural studs. This is how most channel letters are installed: the letters sit on the studs, and a 1:1 paper template has already told the installer exactly where to drill.
Stud mount is strong, holds heavy letters, and keeps the sign slightly off the wall so air can move behind it. The studs carry the weight; the wall only has to resist pull-out.
2. Flush or direct mount
The sign sits flat against the wall with no gap. This suits flat panels, light boxes and flat-cut acrylic letters, and it is common on interior walls and clean modern facades. Flush mounting needs a flat substrate, because any bump in the wall shows through the sign. It also needs a sealed back, since there is no airflow to dry condensation.
3. Standoff mount
Metal or acrylic standoffs hold the sign a fixed distance off the wall, usually 1–2 inches. Standoffs are the go-to for light boxes, acrylic panels and brushed metal signs where the client wants a clean, floating look. They double as the mounting point and the spacer, which keeps the design simple.
4. Z-clip and French cleat
A Z-clip (or French cleat) is a pair of interlocking aluminum or steel profiles. One screws to the wall, one to the sign. The sign drops down and locks into place. This is the fastest method to hang a flat panel, and it lets a large panel be lifted off again for service or access. It is ideal for 3D acrylic and metal letters mounted as a single panel.
Halo-lit signs and the standoff gap
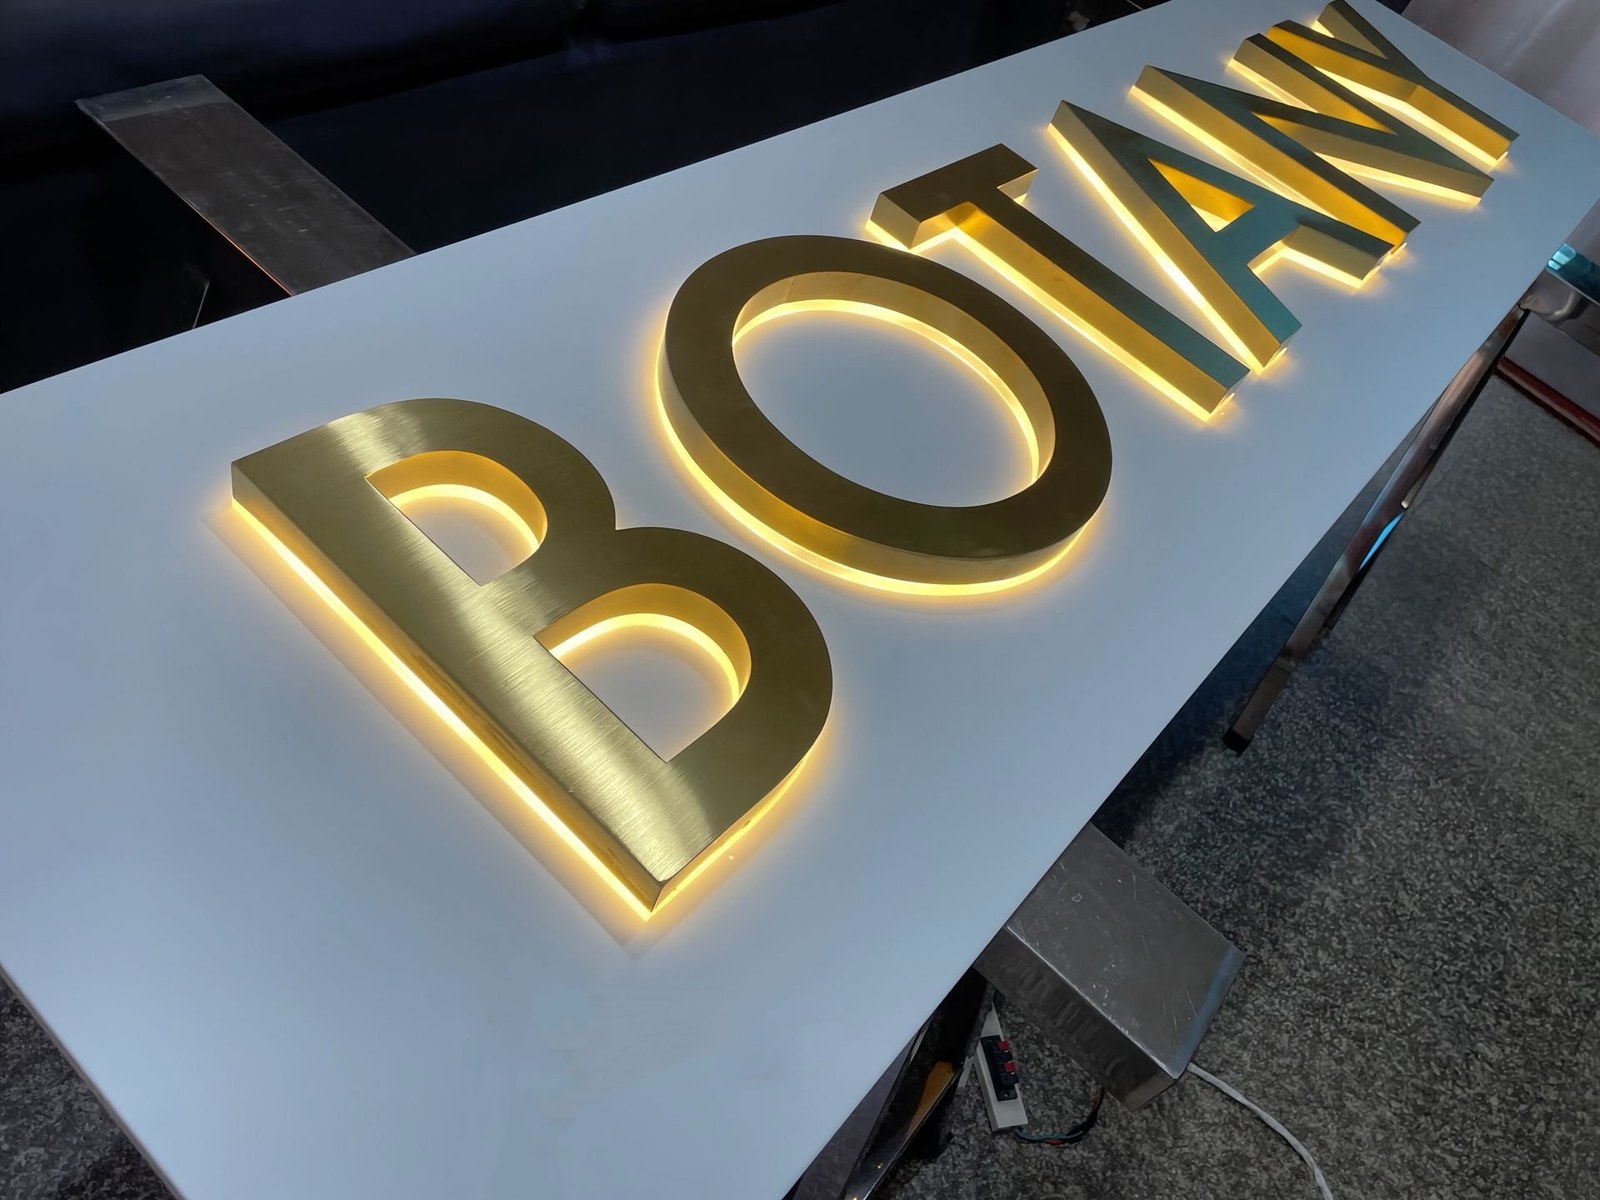
A halo-lit (reverse-lit) sign needs a deliberate gap between the letters and the wall. The LEDs face backward, so the light only reads as a soft glow if there is room for it to spread. Too small a gap and you get a hard, ugly line of light; too large a gap and the halo washes out. Most halo signs use a 1–2 inch gap, set by the studs or by a dedicated spacer.
Remember one thing about how commercial signs are mounted: the anchor goes into structure, never into a finish. The wall type decides what that structure is.
How are commercial signs mounted on different wall types
Brick and masonry
Brick is the easiest wall to anchor into. Drilling through a brick face into the block is fine with a masonry bit. The anchor should bite into the block, not the brittle face. For heavy signs, a steel backing plate spreads the load across several bricks.
Stucco and EIFS
Stucco is a thin skin over framing, and EIFS is even softer. A screw alone will pull straight out. The fix is to find the structural studs or sheathing behind the skin and anchor there. A spacer or mounting plate isolates the sign from the finish.
Glass and curtain wall
You do not drill a curtain-wall panel for a sign. Instead, the sign hangs from a dedicated bracket that clamps the mullion. Some glass walls use a standoff system fixed to the frame. This is one case where the mounting method has to be designed with the facade, not after it.
Wood and composite panels
Wood and composite panels take screws and studs well. They need a backer behind the panel so the load does not sit on a thin skin. On a modern wood-slat or composite wall, we usually add an internal batten or a steel sub-frame that carries the whole sign.
Metal siding
Metal siding is only around 1 mm thick, so it cannot take the load of a sign on its own. The chain is: anchor into the substructure behind the siding, seal the penetration, and let the sign bracket bridge the gap. Done right, the siding is never loaded.
Where the electrical wire exits
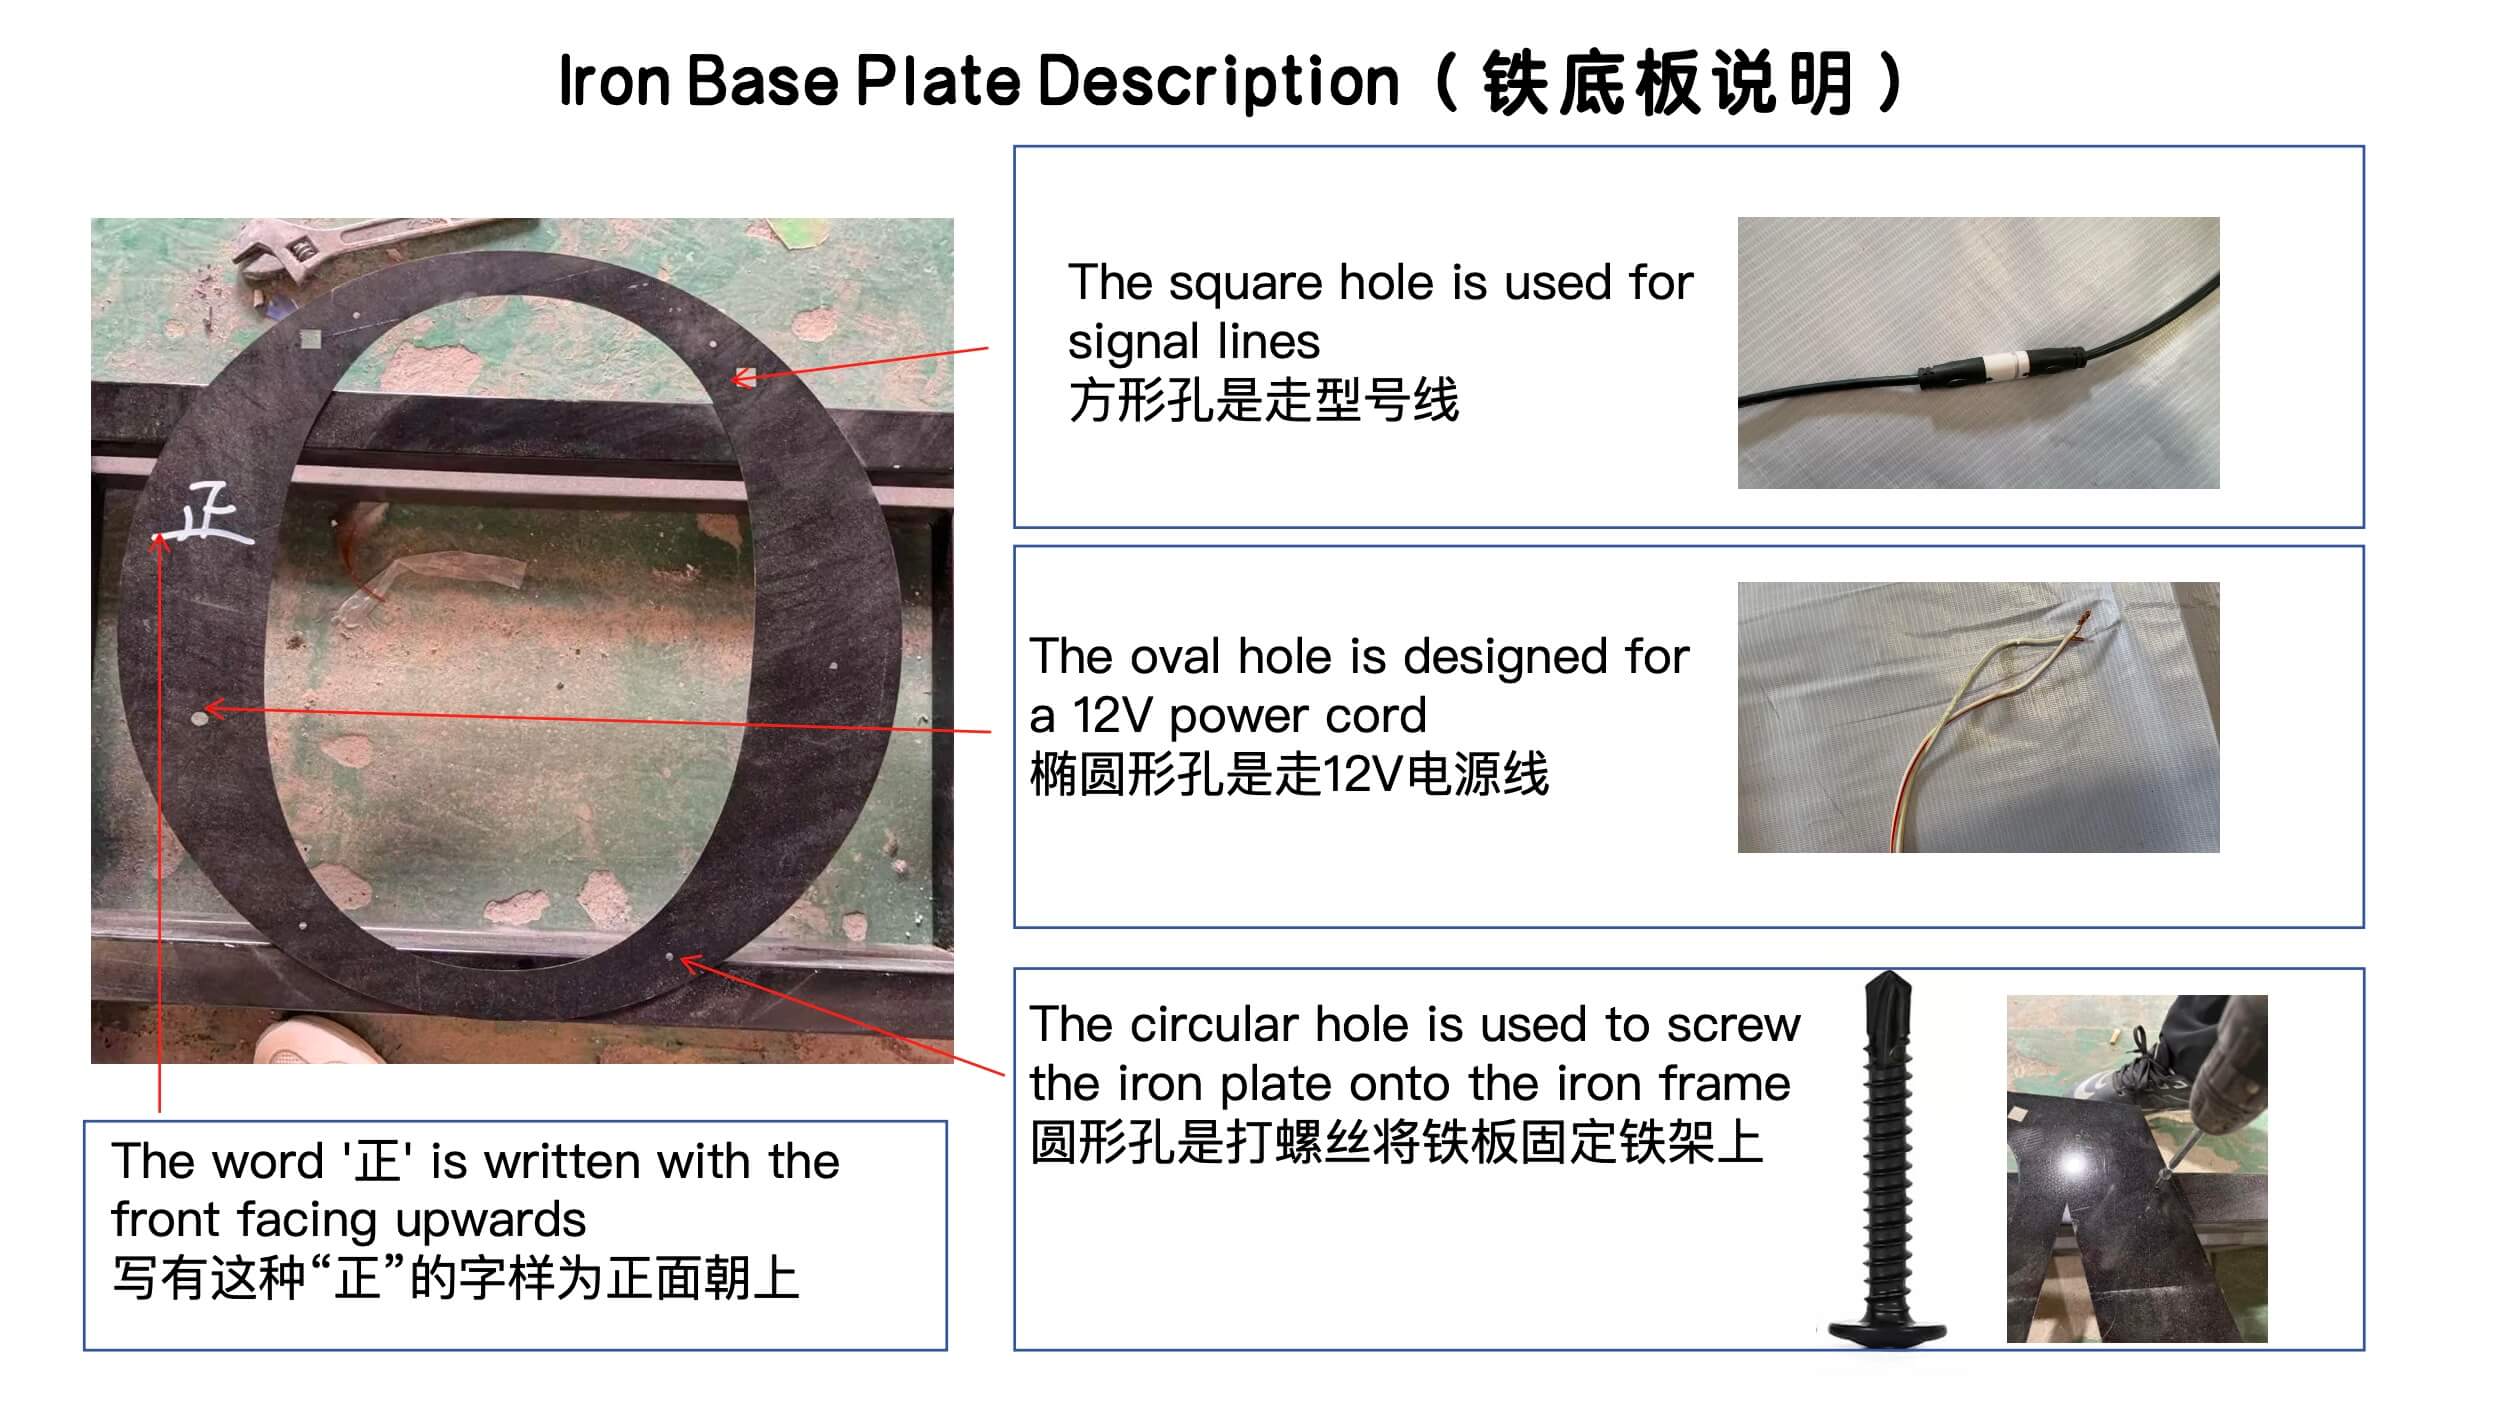
Illuminated signs need power, and the wire has to get from the wall into the sign. The cleanest plan is to tell the sign builder where the junction box is before the sign is made. The wire exit then lines up with a hidden point behind the letter. If the box is already on the wall and cannot move, we route the wire to it and hide it inside the sign. Running a new circuit through brick or glass after the fact is what turns a one-day install into a two-day one.
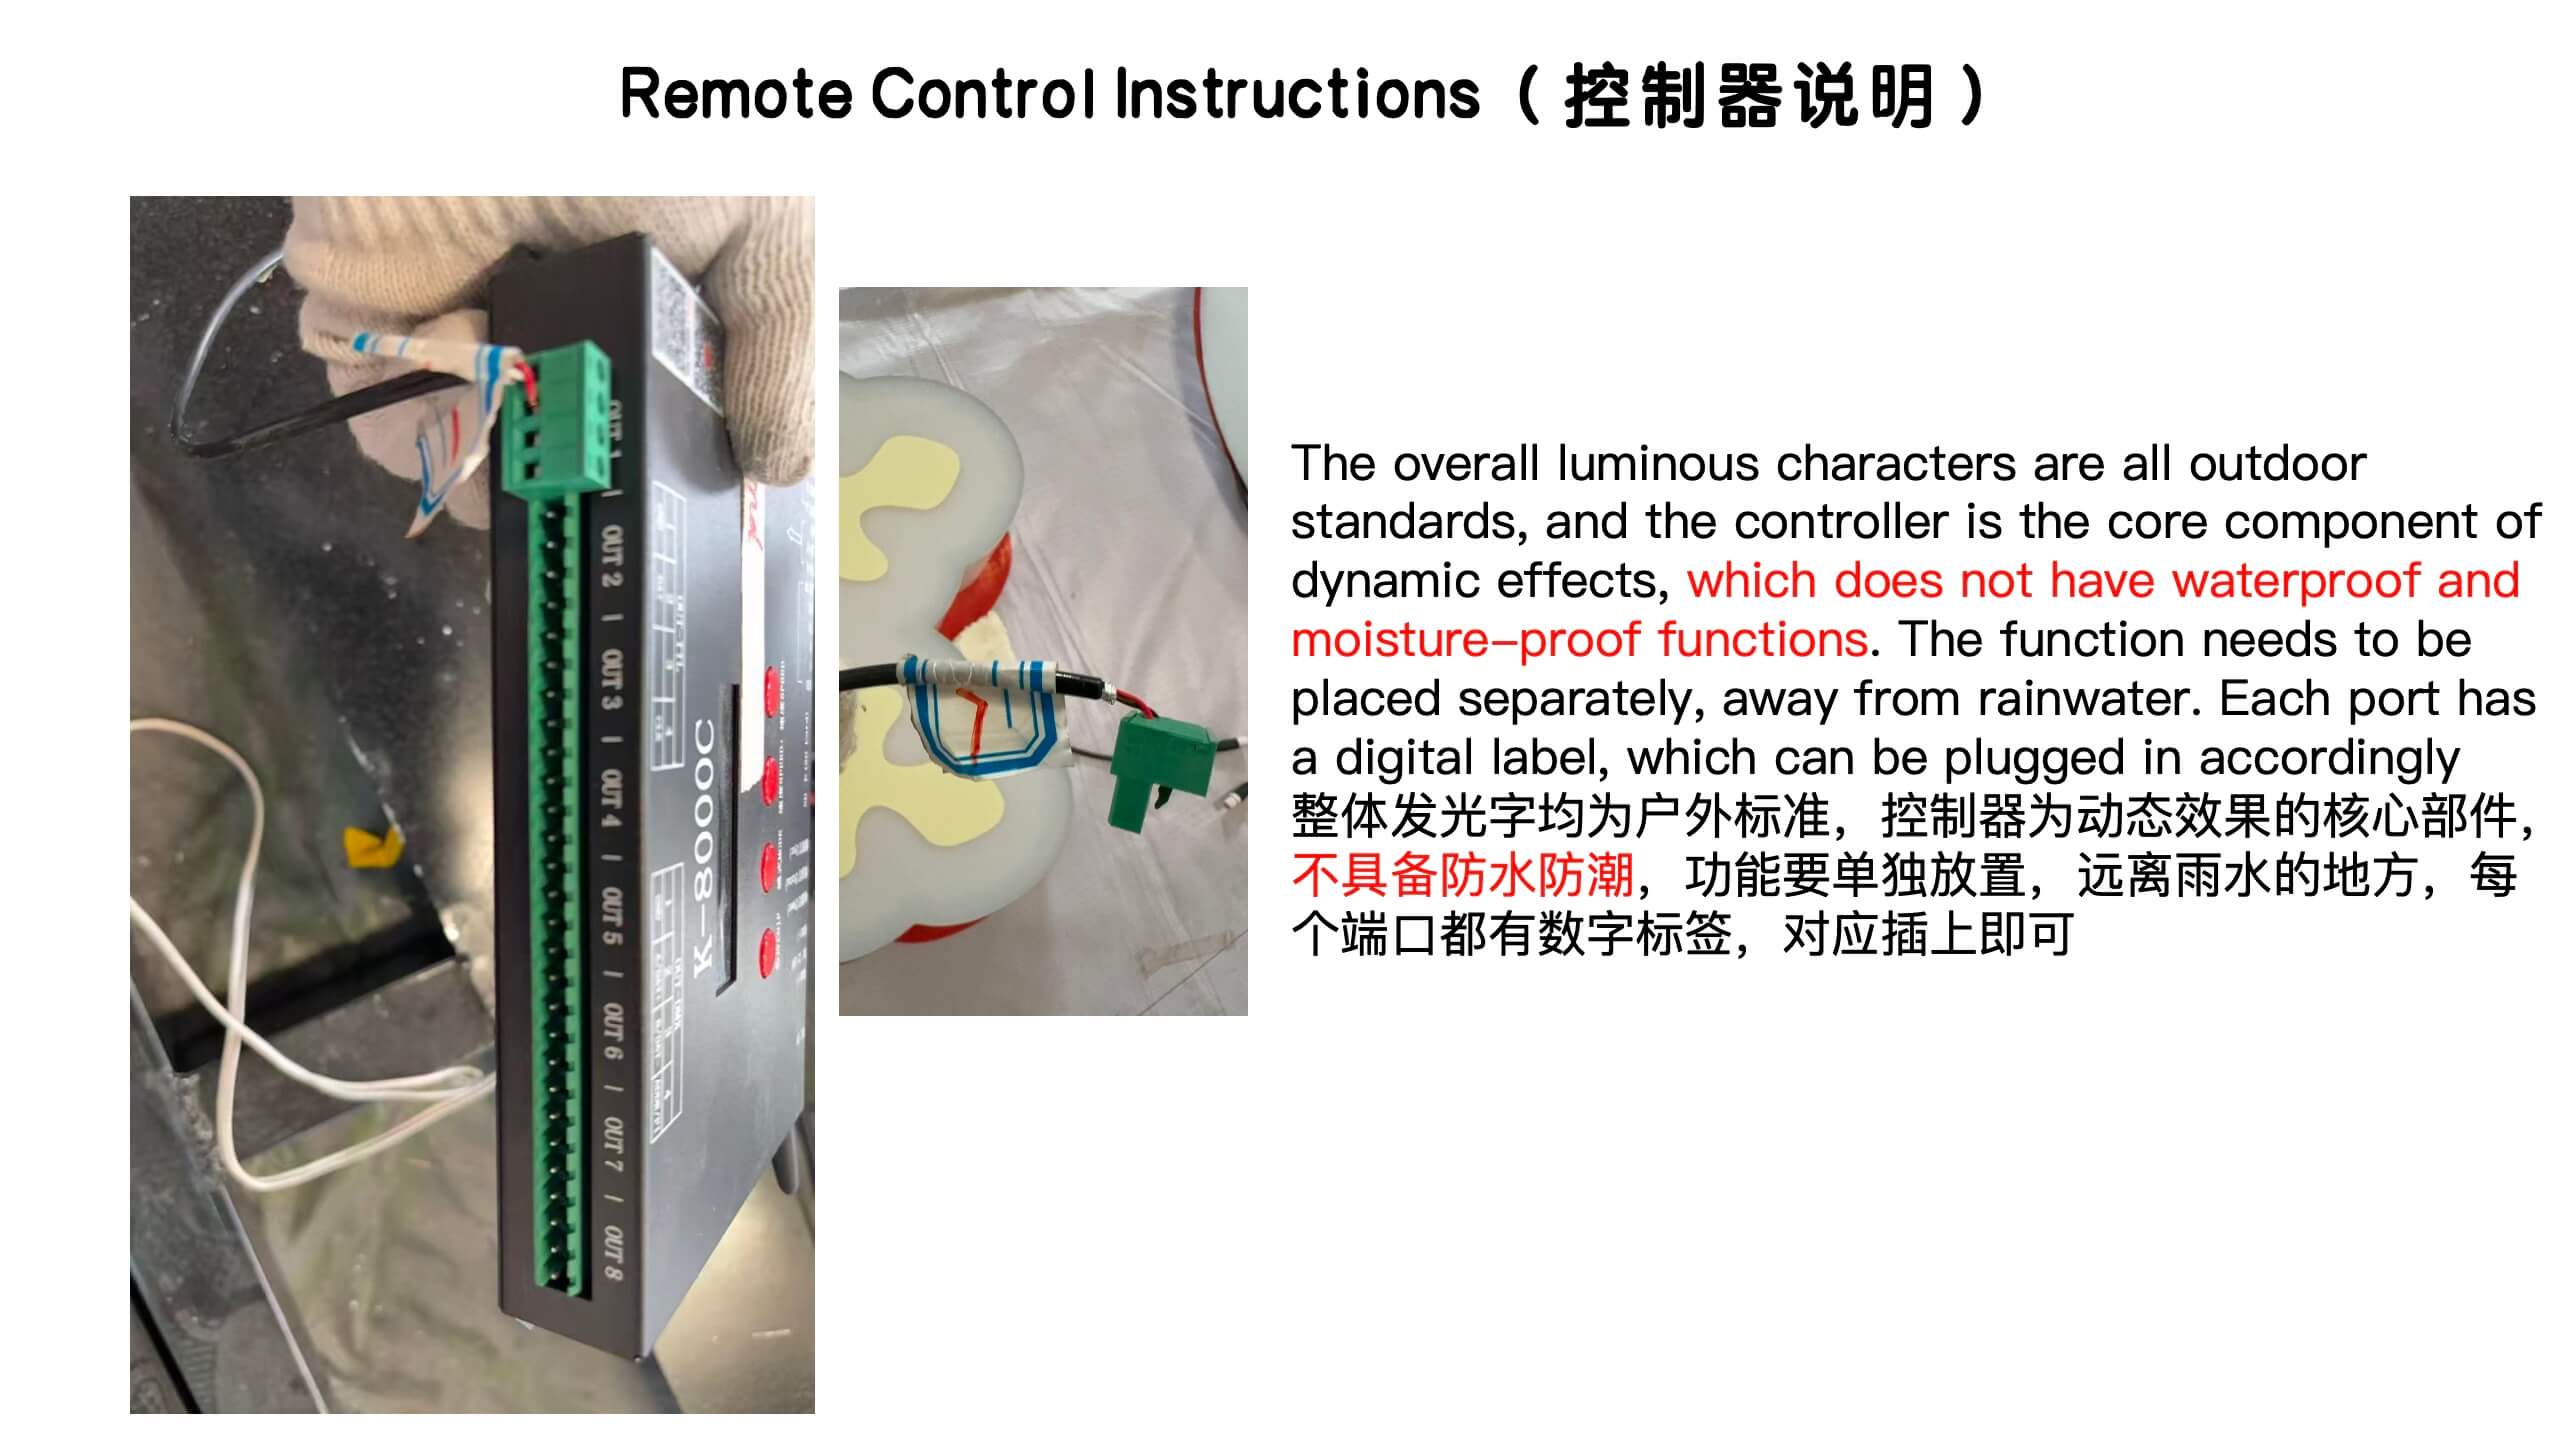
Servicing the LED modules after install
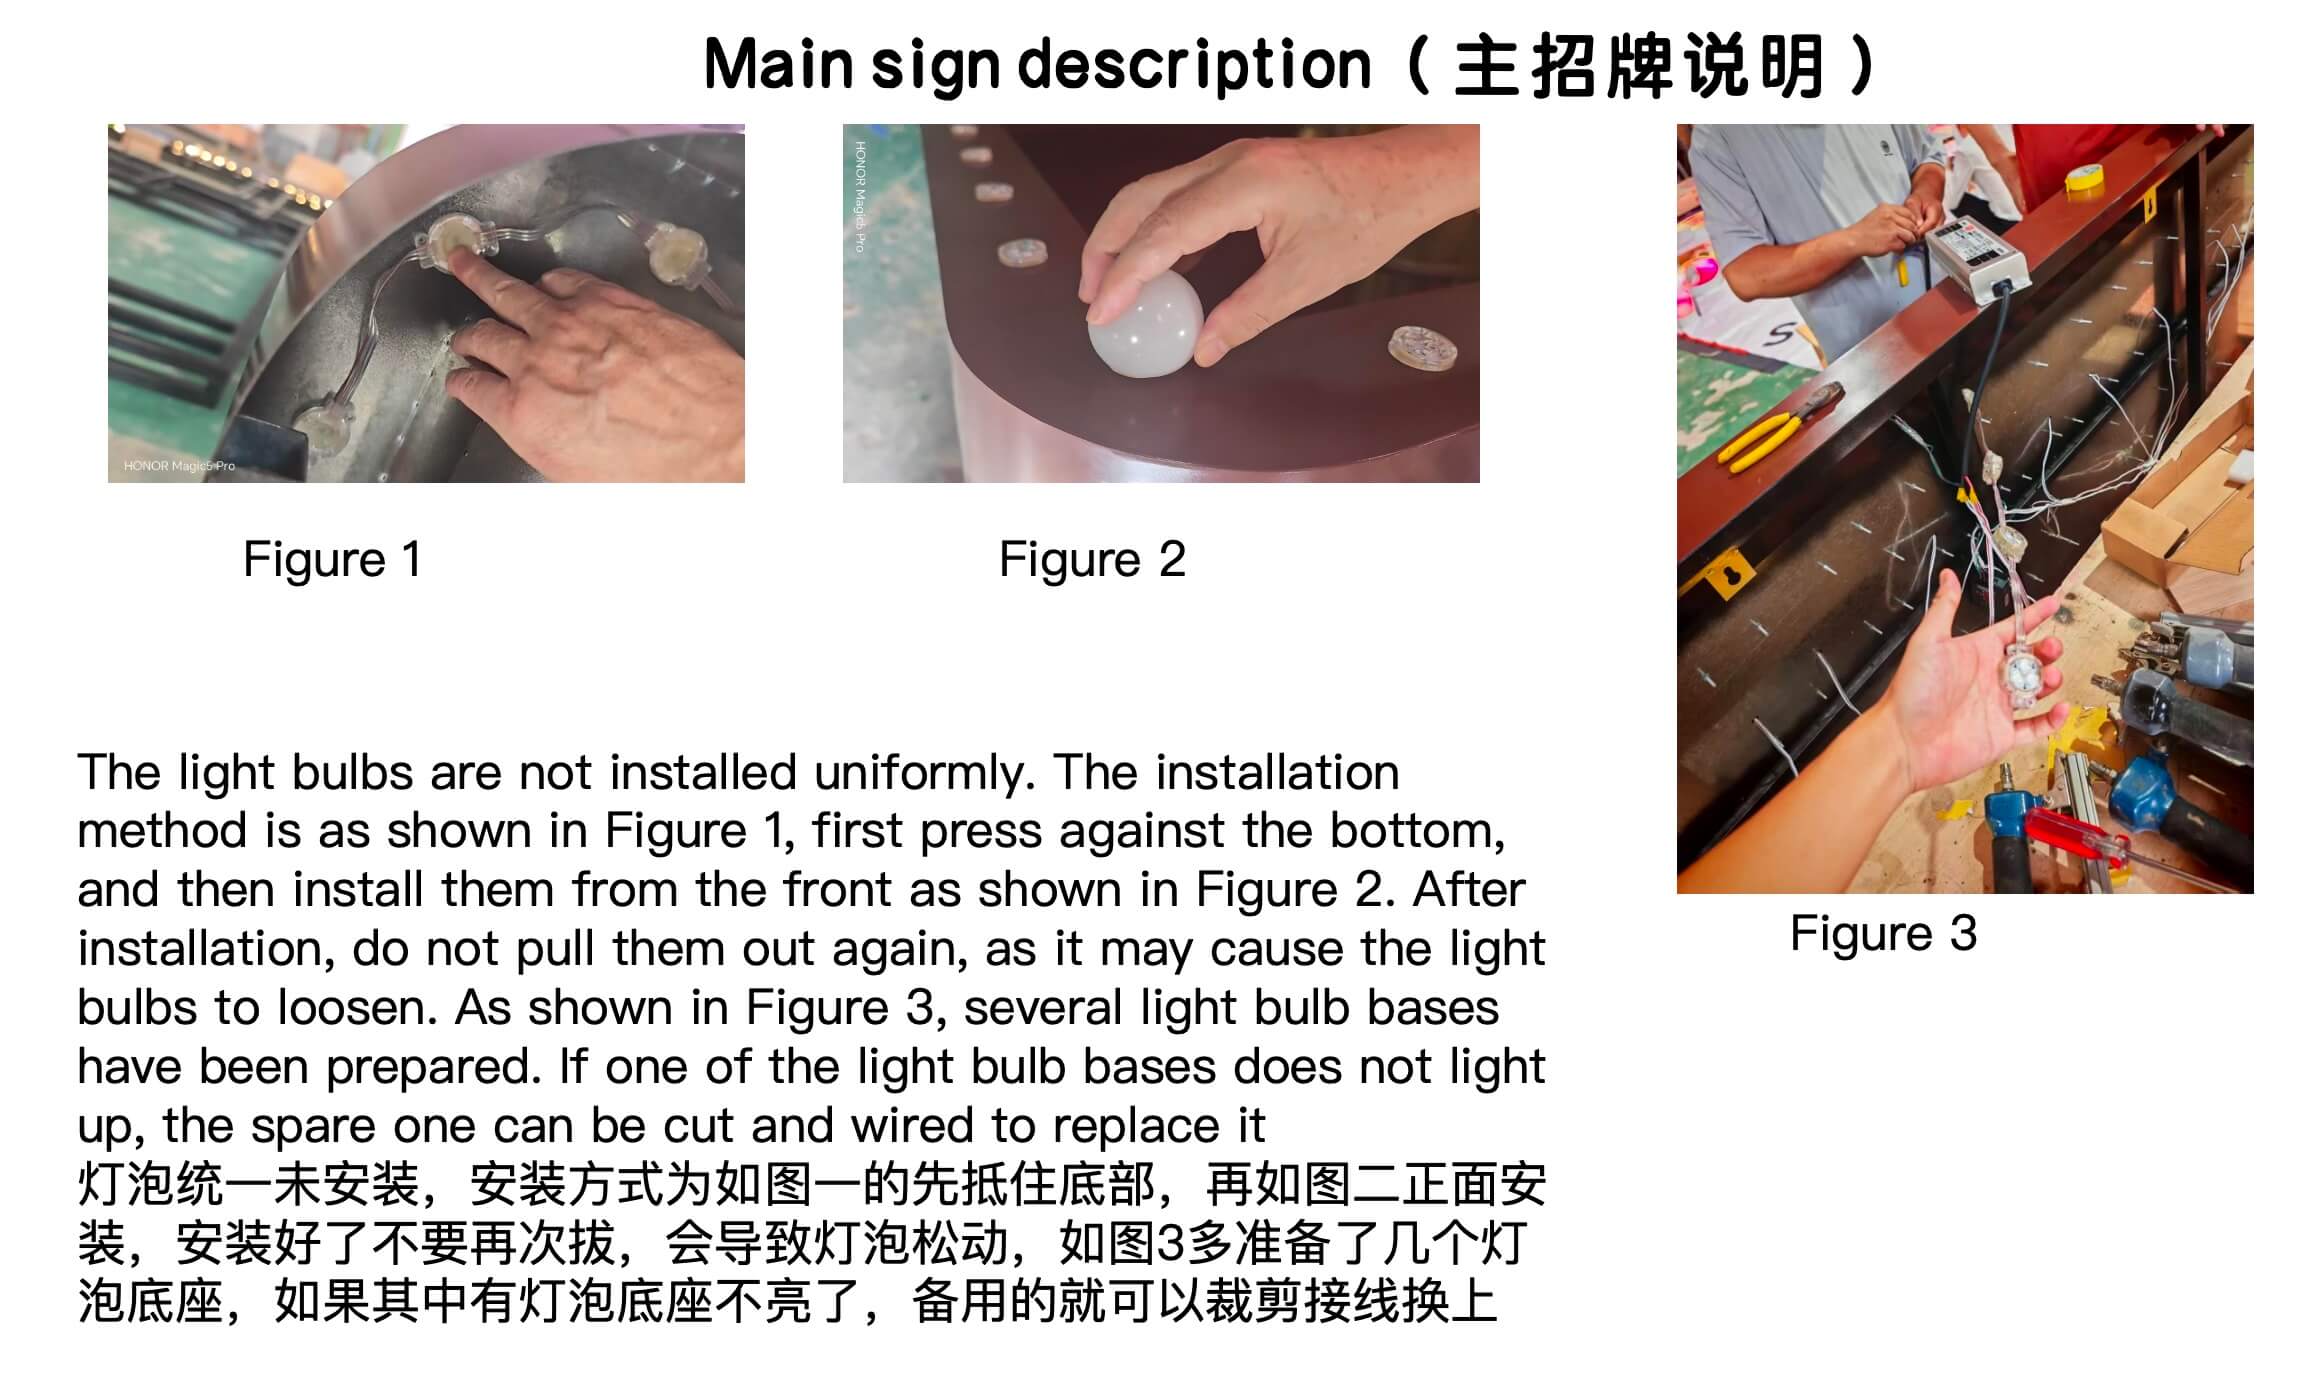
Once a sign is up, the only service item is usually the LED module. Ours are built so a failed module can be replaced without taking the sign off the wall. The spare module is cut and wired in, then pressed into the letter from the front. The one rule is not to pull a working module back out once it is seated, because that is what loosens the base.
The 1:1 mounting template
Every sign we ship goes out with a 1:1 paper template. It is a full-size paper or vinyl layout that shows exactly where each stud, hole and letter sits on the wall. The installer tapes it up, levels it, drills through the marked points, and the sign lines up the first time. It removes almost all of the "measure twice" risk and means a local handyman can install the sign without a specialist.
FAQ: how commercial signs are mounted
Do I need a contractor to mount my sign?
No. We ship a 1:1 mounting template, the anchors, and step-by-step instructions, and every sign is pre-wired with a plug-and-play low-voltage adapter. A general handyman can complete a standard storefront install. Only high or curbside installs with permits need a licensed sign contractor.
How are commercial signs mounted on brick or stucco?
Yes, but not into the stucco skin. We anchor into the studs or sheathing behind it. A spacer keeps the sign off the brittle finish.
How are the wires hidden?
The wire exits the wall behind a letter or panel and travels inside the sign body to the driver. We plan the exit point with the installer before production so it lines up with the existing junction box.
What is the best way to mount a heavy sign?
Stud mount into the structural layer, with a steel backing plate to spread the load. Weight should never hang on a single anchor in a brittle surface.
Do halo-lit signs need a bigger gap?
Yes. A halo sign needs roughly 1–2 inches of space behind it for the light to spread into a clean glow. Flush-mounting a halo sign kills the effect.
Related reading
- How long does a custom sign take? (production & DDP timeline)
- Can you send a mockup before I pay?
- 3D acrylic letters on monument signs
- Custom channel letters and reverse halo signs
Not sure how your wall will take a sign?
Send a photo of the wall and its material. We will confirm the mounting method, the anchor plan and the wire route before you order.
Request a free 3D mockup — reply within 24 hours Send my wall photo →For a real example of engineering, installation planning and DDP delivery, read our Vasilis restaurant sign case study.
For infinity mirror displays, review the 3D infinity mirror signs guide before planning the installation.